Why Proper Setup Matters
A correctly configured Ricoh printer can serve your business reliably for years. Many common issues stem from improper initial setup. This guide ensures you start right.
Unboxing and Initial Inspection
Before powering on your Ricoh printer:
- Remove all packing materials and tape
- Check for shipping damage
- Locate all accessories (power cord, starter toner, documentation)
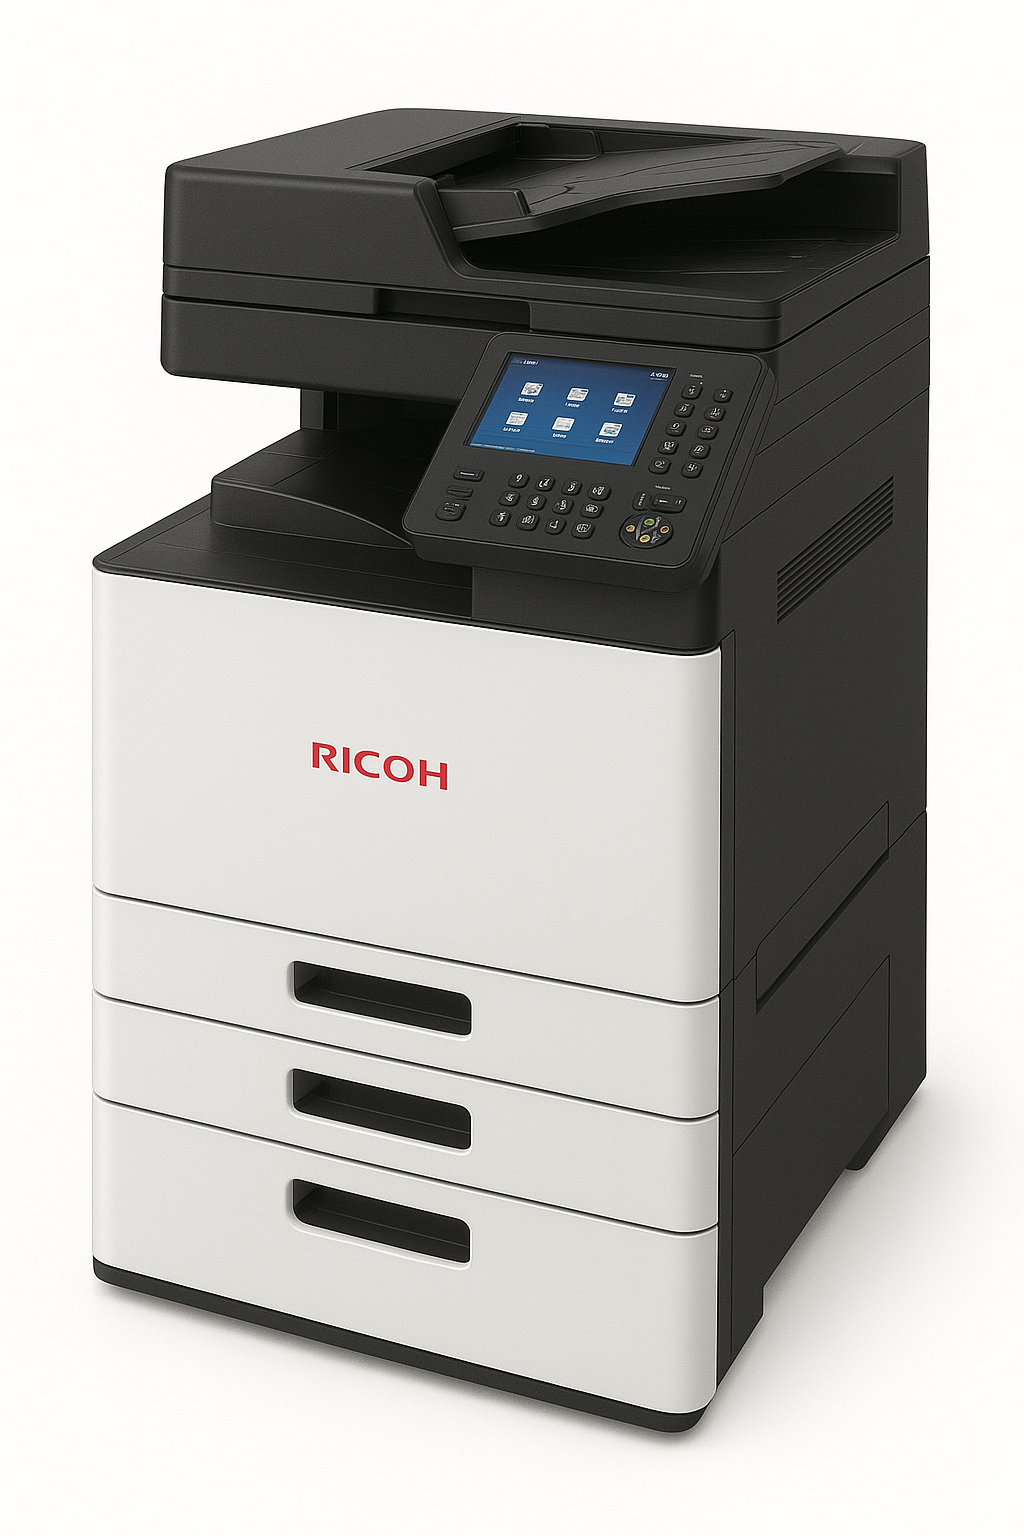
- Identify the model number for driver downloads
Physical Setup
Place your printer on a stable, level surface away from direct sunlight and heat sources. Ensure adequate ventilation around all sides. Connect the power cord but don't turn on yet.
Installing Toner and Paper
Open the front panel and install the starter toner cartridge. Shake gently before inserting. Load paper in the main tray, adjusting guides to match paper size. Use quality 80gsm paper for best results.
Network Configuration
For network printing:
- Connect ethernet cable or configure WiFi via control panel
- Print a configuration page to find IP address
- Access web interface at that IP for advanced settings
Driver Installation
Download latest drivers from Ricoh's website for your specific model. Run the installer and select network or USB connection. Test with a sample print.
When to Call a Professional
Complex network integration, department codes setup, or persistent issues warrant professional help. Contact ilexDigital for expert Ricoh setup assistance in Nairobi.
Comments
0 commentsLeave a Comment
No comments yet. Be the first to share your thoughts!